Open PowerShell as Administrator
Run CommandConnect-ExchangeOnline

Login with an account that has Administrative access to your Office365 tenant
If the user who you want to grant access to already has FullAccess permission, or has been delegated FullAccess permission using the Microsoft 365 Exchange dashboard run this command below before you proceed.Remove-MailboxPermission -Identity "[email protected]" -User "[email protected]" -AccessRights FullAccess -InheritanceType All

This example will remove ‘FullAccess’ permission from user Jdoe on mailbox ‘[email protected]‘.
Use the following command to grant Readaccess to the mailbox for the specified user.
Add-MailboxPermission -Identity "[email protected]" -User [email protected] -AccessRights ReadPermission

This permission does not inherit down to folders so we must grant access to the top information store and then grant access to any other folders that should be visible to the user.
Grant permissions to the top information store.Add-MailboxFolderPermission -Identity [email protected]:\ -User [email protected] -AccessRights Reviewer

This example grants the user ‘Jdoe’ Reviwer permissions to the shared mailbox ‘[email protected]’ top level information store.
Grant Access to the Inbox & Outbox Folders
Add-MailboxFolderPermission -Identity [email protected]:\Inbox -User [email protected] -AccessRights Reviewer

Add-MailboxFolderPermission -Identity [email protected]:\Outbox -User [email protected] -AccessRights Reviewer

The two commands above grants Read-Only access to the outbox and Inbox folders to user Jdoe.
Be sure to grant access to inbox and outbox. In our experience grant access only to inbox resulted in an error when attempting to add the mailbox.
The next step is to open Microsoft Outlook and add the shared mailbox. Unfortunately, the permission level ‘ReadAccess’ does not support automapping. This is why it needs to be manually added to the outlook profile.
-AutoMapping
The AutoMapping parameter includes or excludes the mailbox from the auto-mapping feature in Microsoft Outlook. Auto-mapping uses Autodiscover to automatically add mailboxes to a user’s Outlook profile if the user has Full Access permission to the mailbox.
-Source: Microsoft Learn ‘https://learn.microsoft.com/en-us/powershell/module/exchange/add-mailboxpermission?view=exchange-ps‘
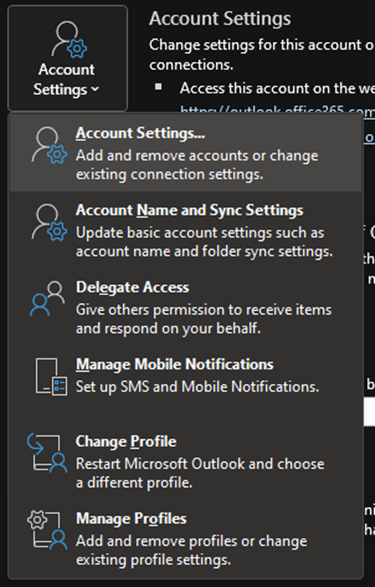
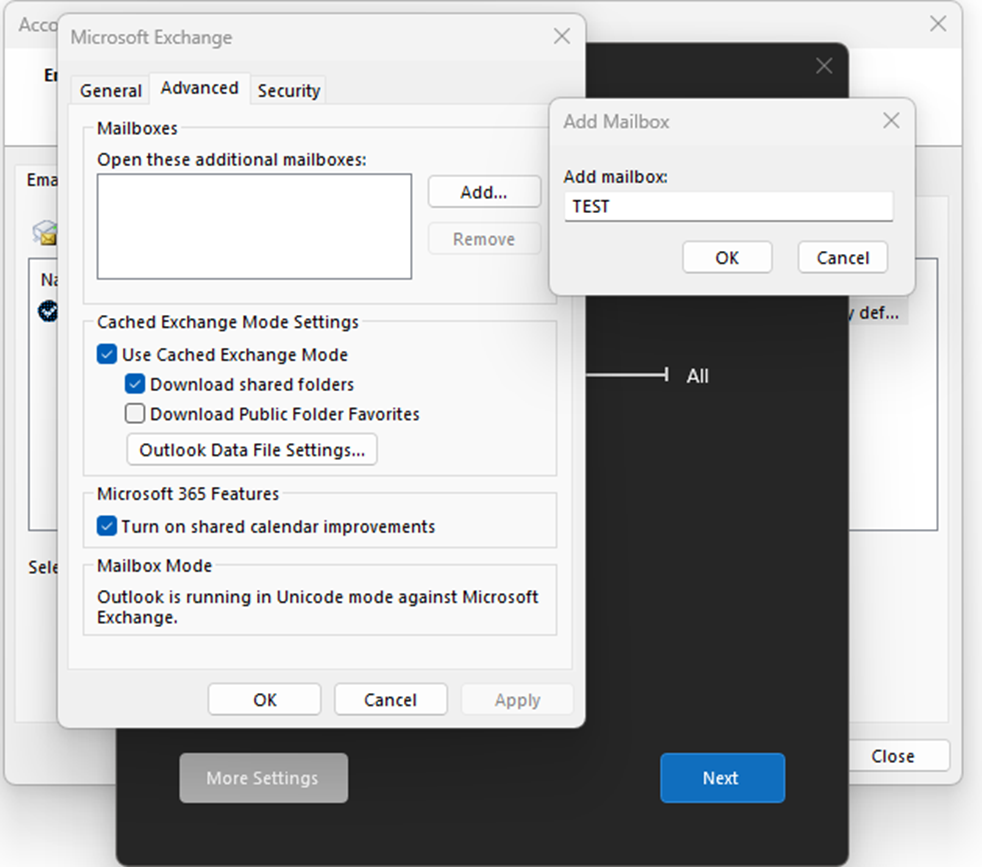
Open Outlook and navigate to File > Account Settings > Select Account Settings from the drop down list.

Don’t be too concerned about the spelling, Outlook will use Autodiscover to pull the appropriate name from the Global Address List.
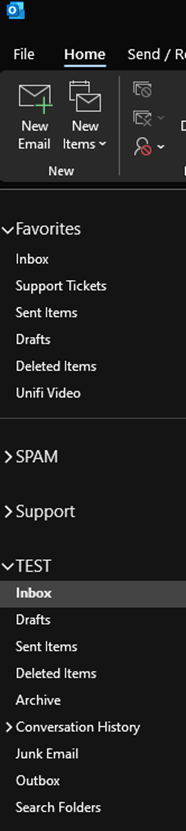
The mailbox should now be visible to the user in outlook.
Be sure the expand the mailbox folders by clicking the arrow beside the mailbox name.